

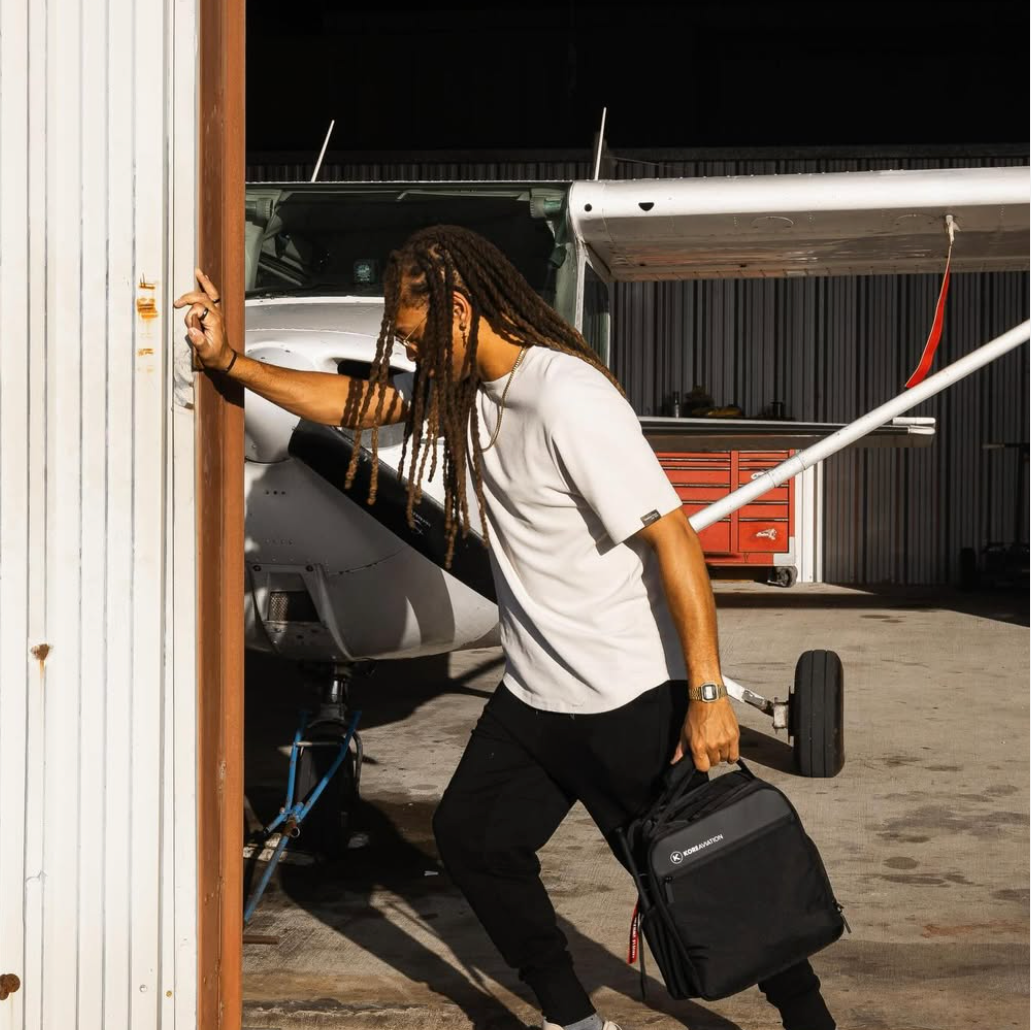
KORE Aviation - Stepping up to your private pilot checkride is the final milestone before earning your license. You have logged your forty hours, mastered radio calls, and survived countless cross-country flights. Now, a Federal Aviation Administration designated examiner wants to verify your skills. Knowing what to expect checkride day can reduce your anxiety. You want your cockpit environment comfortable. Crystal-clear radio communication matters immensely when talking to air traffic control under pressure. Many student pilots trust gear like the KORE Aviation KA-1 PNR headset, priced at $224.95 with a 5-year warranty, 24 decibels of noise reduction, and gel ear seals, to keep cabin noise manageable while staying focused on procedures. Over 30,000 pilots trust KORE, and the brand partners with over 50 flight schools nationwide. Let us break down every phase of your evaluation so you walk in fully prepared.
Preparing for Your Private Pilot Checkride: What to Expect
A successful private pilot checkride begins weeks before the actual date. Your evaluation splits into two distinct segments. First comes the oral exam, lasting roughly one to two hours in a quiet room with the examiner. Second comes the flight test, taking roughly one to 1.5 hours in the aircraft. The private pilot practical test measures your knowledge and practical ability against strict federal standards. Examiners do not expect perfection. They expect safe decision-making and a solid understanding of aircraft limitations.

Mastering the Checkride Oral Exam
The checkride oral exam tests your theoretical foundation. You need all your documents organized in a binder or digital tablet. Expect questions on airworthiness, including required AROW documents and Airworthiness Directive compliance. Weather analysis is critical. You must read METARs, TAFs, and sectional charts effortlessly. Cross-country planning requires a complete navigation log, precise fuel calculations, and accurate weight and balance sheets. Regulations cover airspace dimensions, right-of-way rules, and VFR minimums. Aerodynamics topics involve stalls, load factors, and performance charts. Emergency procedures round out the discussion. Having a reliable headset like the KORE Aviation KA-1 ensures you hear every question clearly during ground prep briefings if you choose to wear it, or save it for the cockpit.
Here is a quick breakdown of how the two examination phases compare:
| Exam Phase | Estimated Duration | Core Focus Area |
|---|---|---|
| Oral Exam | 1 to 2 hours | Regulations, weather, cross-country planning, aircraft systems |
| Flight Test | 1 to 1.5 hours | Maneuvers, emergency procedures, landings, navigation |
Acing Your Private Pilot Checkride Flight Maneuvers
Once you pass the ground portion, you head out to the aircraft for the PPL flight test. Your examiner looks for smooth control inputs and proper clearing turns. Expect steep turns with a 45 degree bank angle. You will demonstrate slow flight, followed by power-on and power-off stalls. Ground reference maneuvers include turns around a point and S-turns. You will execute short field and soft field takeoffs and landings. The examiner will pull power unexpectedly to test your simulated emergency engine out procedures. You must perform an in-flight diversion to an alternate airport, execute lost procedures, and demonstrate radio navigation using VOR or GPS equipment.
Understanding Airman Certification Standards Tolerances
The Federal Aviation Administration grades your flight performance using Airman Certification Standards. You must maintain strict tolerances during every maneuver on your private pilot checkride. Your altitude must stay within plus or minus 100 feet of your target. Your heading must hold within plus or minus 10 degrees. Your airspeed must remain within plus or minus 10 knots of your desired speed. If you exceed these tolerances briefly, correct smoothly without overcorrecting.

PPL Checkride Tips and Day of Preparation
Following proven PPL checkride tips keeps your stress levels low. Gather all required documents the night before, including your logbook, government photo identification, medical certificate, and knowledge test results. Arrive at the airport at least one hour early. Obtain a thorough weather briefing and print out your flight plan. Treat the evaluation like a normal flight with an instructor on board. Many pilots pair their cockpit setup with the budget-friendly KORE Aviation P1 PNR headset, priced at $124.95 with a 1-year warranty and 24 dB noise reduction, offering exceptional comfort without breaking the bank. Common mistakes involve rushing checklist items, failing to check weather updates, and letting a minor error snowball into a major safety concern. Acknowledge a mistake, correct it, and move on immediately.
What Happens If You Fail Your Checkride
If you do not meet standards on a specific task, the examiner issues a notice of disapproval. Do not panic because failure is not the end of your aviation journey. Under 14 CFR 61.43, you do not retake the entire evaluation. Your instructor provides targeted training on the failed areas. You return to the examiner within 60 days to retest only the specific tasks you missed. Bring your logbook with the endorsement from your flight instructor showing remedial training is complete.
Frequently Asked Questions
1. How long does the private pilot checkride take in total?
The entire process typically takes about 3 to 4 hours, combining a 1 to 2 hour oral exam with a 1 to 1.5 hour flight test.
2. What documents must I bring to my practical test?
You need your photo identification, current medical certificate, student pilot certificate, logbook with all required instructor endorsements, FAA knowledge test report, aircraft airworthiness documents, and aircraft logs.
3. Can I use a GPS during cross-country planning on the checkride?
Most examiners require traditional pilotage and dead reckoning calculations on your navigation log, though utilizing GPS as a secondary reference is standard practice.
4. What is the most common reason applicants fail?
Poor preflight planning, inadequate weather analysis, and failure to maintain altitude or heading tolerances during maneuvers are the leading causes of disapproval.
5. How much does a checkride cost?
Examiner fees typically range from 600 to 1,000 dollars, depending on your geographic location, plus the cost of renting the aircraft for the flight portion.
Bottom Line
Your private pilot checkride is designed to confirm that you can make safe decisions and operate an aircraft confidently, not that you are a perfect pilot. Good preparation, organized documents, a solid understanding of the Airman Certification Standards, and staying calm under pressure will go much further than trying to memorize every possible question.
While your knowledge and flying skills are what determine the outcome, having a comfortable and familiar cockpit setup can help you stay focused throughout the evaluation. Many student pilots choose a reliable aviation headset before checkride day so they can hear ATC clearly and communicate with confidence. If you are looking for a dependable passive headset for training and beyond, explore the KORE Aviation KA-1 and KORE Aviation P1 to find the option that best fits your flying goals.


