
KORE Aviation - If you’ve ever dreamed of flying your aircraft and exploring the skies, you're not alone. Every year, thousands of Americans become private pilots for the freedom, challenge, and adventure, or as the first step toward a professional flying career. It’s one of the most rewarding licenses in aviation, and the gateway to that dream.
Getting a Private Pilot License (PPL) requires dedicated effort, but it's not as difficult as most people assume. Whether you're 17 or 57, you can easily access the skies if flying is your passion. This guide covers everything from eligibility, training, and testing to equipment, detailing what you need to know to start.
What Exactly Is a Private Pilot License (PPL)?
You can fly a single engine airplane for leisure activities using Visual Flight Rules (VFR) after receiving your PPL. This license permits solo flying, passenger transport, cross-country flights, aircraft ownership, rentals, and even nocturnal flying after obtaining night training authorization. What you can’t do with a PPL is fly for hire.
PPL often represents the beginning of a pilot's journey towards advanced certifications such as an instrument rating or commercial pilot license. However, some see value in it as the only requirement to pursue flying as a personal pastime.
Meeting the Basic Requirements
Before you can begin pilot training, you’ll need to meet few minimum requirements set by the FAA:
- Be at least 17 years old
-
Be able to read, speak, and write English
Because aviation communication is conducted in English around the world, the FAA mandates that all pilots demonstrate proficiency in reading, speaking, and writing in English. -
Pass a Third-Class Medical Exam from an FAA-certified Medical Examiner
Before you begin flying solo, you need to pass a medical exam to confirm you're healthy enough to fly. This exam checks your vision, hearing, and general physical and mental condition, and it must be conducted by someone officially certified by the FAA. -
Apply for a Student Pilot Certificate through the FAA’s IACRA system
You’ll need to submit an application online using the FAA’s Integrated Airman Certification and Rating Application (IACRA) system. Once approved, your Student Pilot Certificate allows you to fly solo during training. However, it does not allow you to carry passengers.
These steps make up the basic requirements to begin pilot training under FAA guidelines. While the certificate itself is limited, solo flight is a critical part of your training and must be completed before moving on to more advanced stages.
Ground School: Learning the "Why" Before the "How"
Before spending all those hours in the cockpit, you must complete ground school, which covers flight theory, weather, aerodynamics, airspace, navigation, and even FAA rules. For instructors, ground school is available in person or online. Many students prefer self-paced online courses from trusted providers like King Schools and Sporty's over traditional face-to-face classes.
Once you've completed ground school, you must take the FAA written knowledge exam, a 60-question multiple choice exam. The threshold for passing the test is 70%.
Discover More: https://www.koreheadset.com/blogs/blog/what-is-ground-school-pilot-training-explained
Choosing a Flight School
Next comes an important decision: choosing your training provider. Your options include flight schools under Part 61 and Part 141. The main difference is flexibility and structure.
- Part 141 programs follow an FAA approved curriculum that often allows students to complete training in fewer hours.
- Part 61 schools are more flexible and ideal for people with a job or school to balance.
Whatever you choose, look for experienced and qualified Certified Flight Instructors (CFIs), a well maintained aircraft, and transparent pricing. Many flight schools offer free knowledge flights that allow you to get a feel for the experience before you commit.
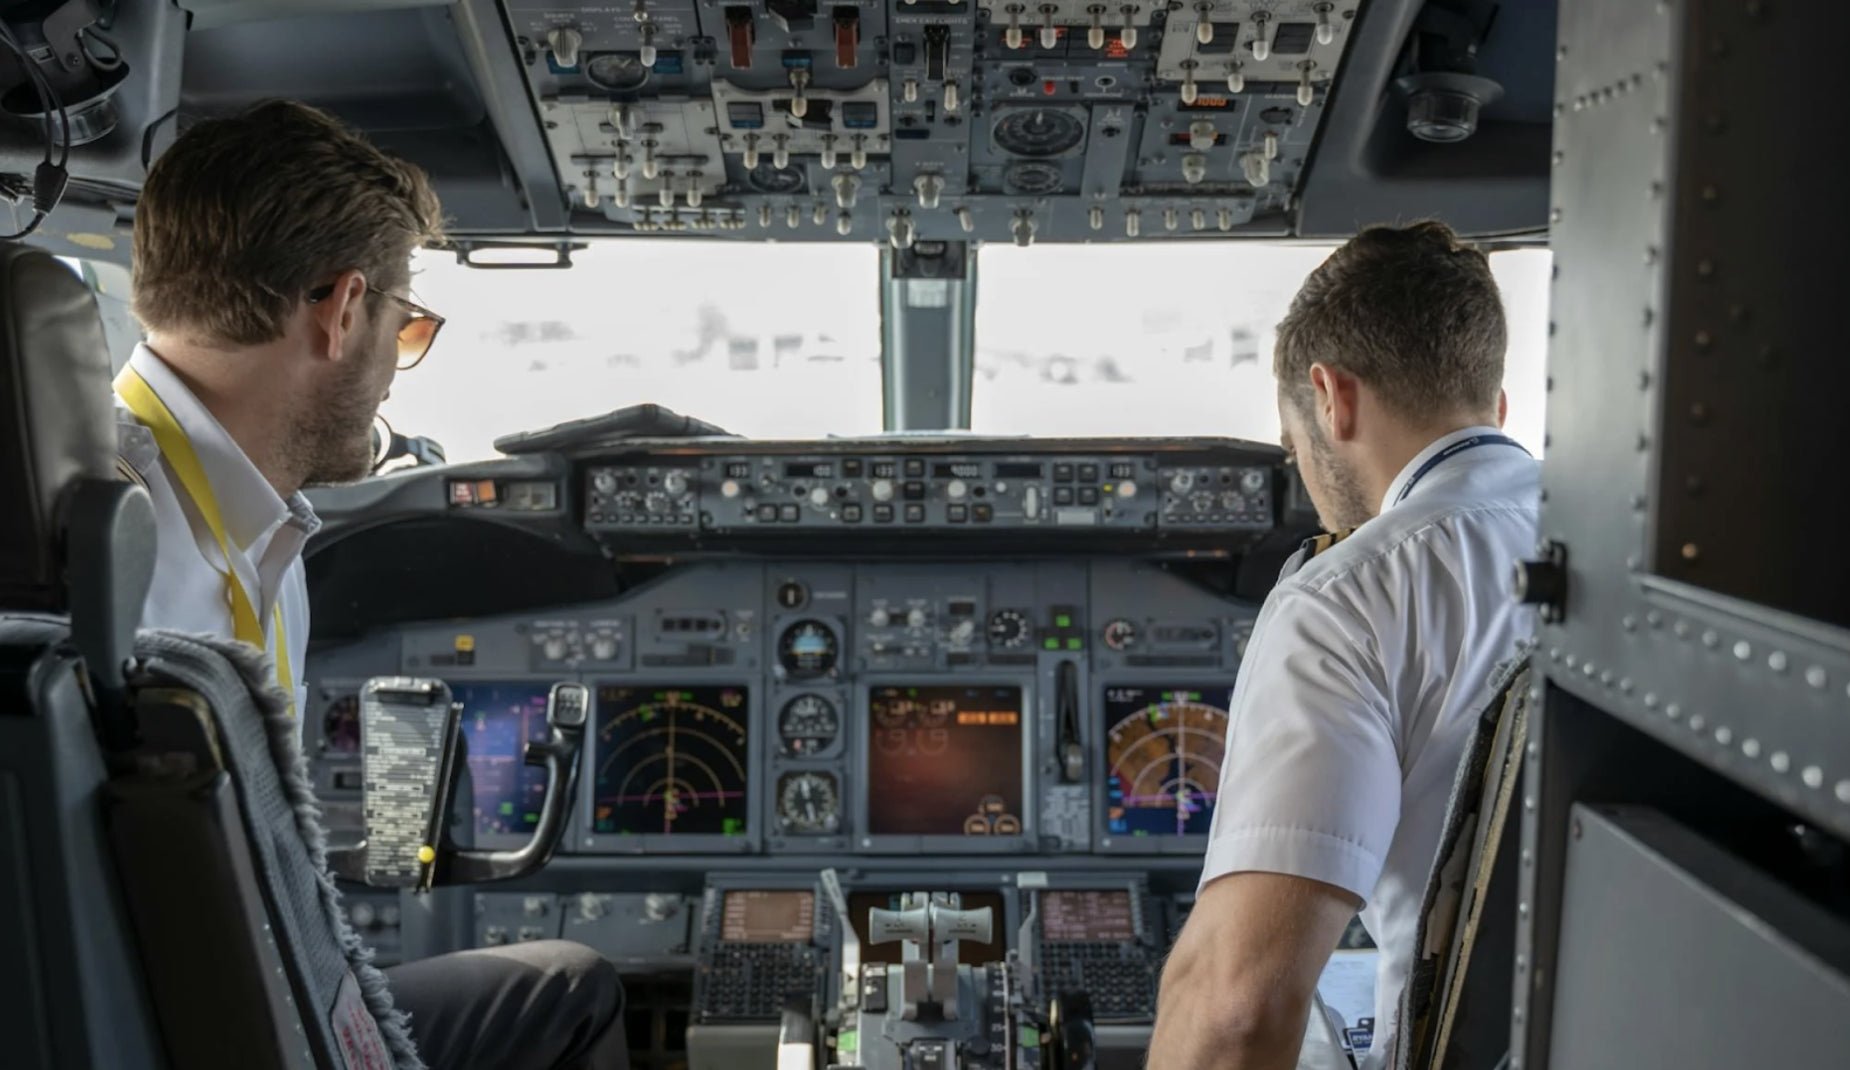
Flight Training: Where the Magic Happens
Now everything comes together, this is where the fun begins. During flight training, you will handle the aircraft and practice real-world scenarios like take-offs, landings, climbs, descents, turns, and even emergency procedures. If offered in your programme, your instructor will gradually prepare you for solo flights, cross-country solo navigation, and night flying.
Under Part 61, you’ll log at least 40 flight hours, but students typically end up with 60 to 70 flight hours before they take their final exam. During this time, you’ll start getting accustomed to using the radio and headsets, which transform into an essential tool in the cockpit.
Passing the Check Ride
After completing your lessons and having them signed off by your instructor, your last evaluation will be the check ride. This will be administered by a certified Designated Pilot Examiner (DPE). The exam will have two components: an oral and a practical flying test. During the oral examination, you will have to answer questions regarding FAA regulations, general weather details, and specific details about aircraft systems.
The practical flight test will focus on options that test your piloting, navigational accuracy, and frequency of manual inputs, as well as emergency functioning and system response during emergencies. If you pass both sections, you will be given the Private Pilot Certificate, essentially your flying license.
How Much Does It Cost to Become a Private Pilot?
The cost of getting your PPL may vary based on geographical location, aircraft rental rates, and flying frequency. Here's what you can expect, on average:
- Flight training (aircraft + instructor): $7,000–$12,000
- Ground school: $250–$500
- FAA written test: ~$175
- Medical exam: $100–$200
- Checkride fee: $600–$900
- Aviation headset and supplies: $300–$1,000
You’re likely looking at $9,000 to $15,000 for the journey. Some flight schools offer payment plans or financing to help you manage costs.
What Comes After the PPL?
You can explore many possibilities once you get your private pilot's license. You can schedule cross-country trips, take your family or friends flying, and work towards higher-level certifications.
Most private pilots usually want to obtain:
- Instrument Rating (IFR): Enables flight in clouds and poor weather.
- Commercial Pilot License (CPL): Required to get paid for flying.
- Certified Flight Instructor (CFI): Teach others while building hours.
- Multi-Engine Rating: Operate twin-engine aircraft for speed and range.
Even if you never go beyond your PPL, the skills, discipline, and confidence you gain will last a lifetime.
Tips for New Student Pilots
Becoming a private pilot is a thrilling but disciplined journey. The more prepared and consistent you are, the smoother your progress will be. These tips are especially helpful for student pilots just getting started.
-
Fly regularly
Aim for 2 to 3 flights each week. Staying consistent helps you retain skills and build confidence faster. -
Join the community
Connect with other pilots through local or online flying clubs. You’ll learn a lot just by listening and sharing experiences. -
Stay organized
Keep your logbook up to date and your study materials in order. Good organization reduces stress and helps you track progress. -
Study often and ask questions
Review material between lessons and don’t be afraid to speak up. Instructors value students who are curious and engaged. -
Invest in good gear
Comfort matters, especially during longer flights. A reliable aviation headset with clear audio and noise cancellation makes a big difference. If you're training to become a private pilot, check out KORE Aviation selection of dependable, student-friendly headsets designed for clarity, comfort, and value.
Final Thoughts: Becoming a Private Pilot Is Worth It
Becoming a private pilot is not as easy as it sounds. It is a challenging process requiring ample time, money, and undivided commitment. But the outcome is unparalleled: unrestrained liberty. You will become part of the select few with the privilege of viewing Earth from a unique altitude.
Whether traveling for work, exploring new terrains, or taking introspective journeys, you will always cherish the memories of your first solo flight, and the first time you take an adored one into the skies will be equally unforgettable.


