


KORE Aviation - Before every flight no matter if it is a short domestic flight or transcontinental flight, one safety measure that every pilot should take in consideration is the preflight checklist. This checklist is not just formal; it serves the purpose of ensuring that, for example, every component of the airplane or aircraft is prepared and set for flight.
In this article we will explore what a pre-flight checklist is, its importance, core elements, and how it helps enhance safety in aviation.
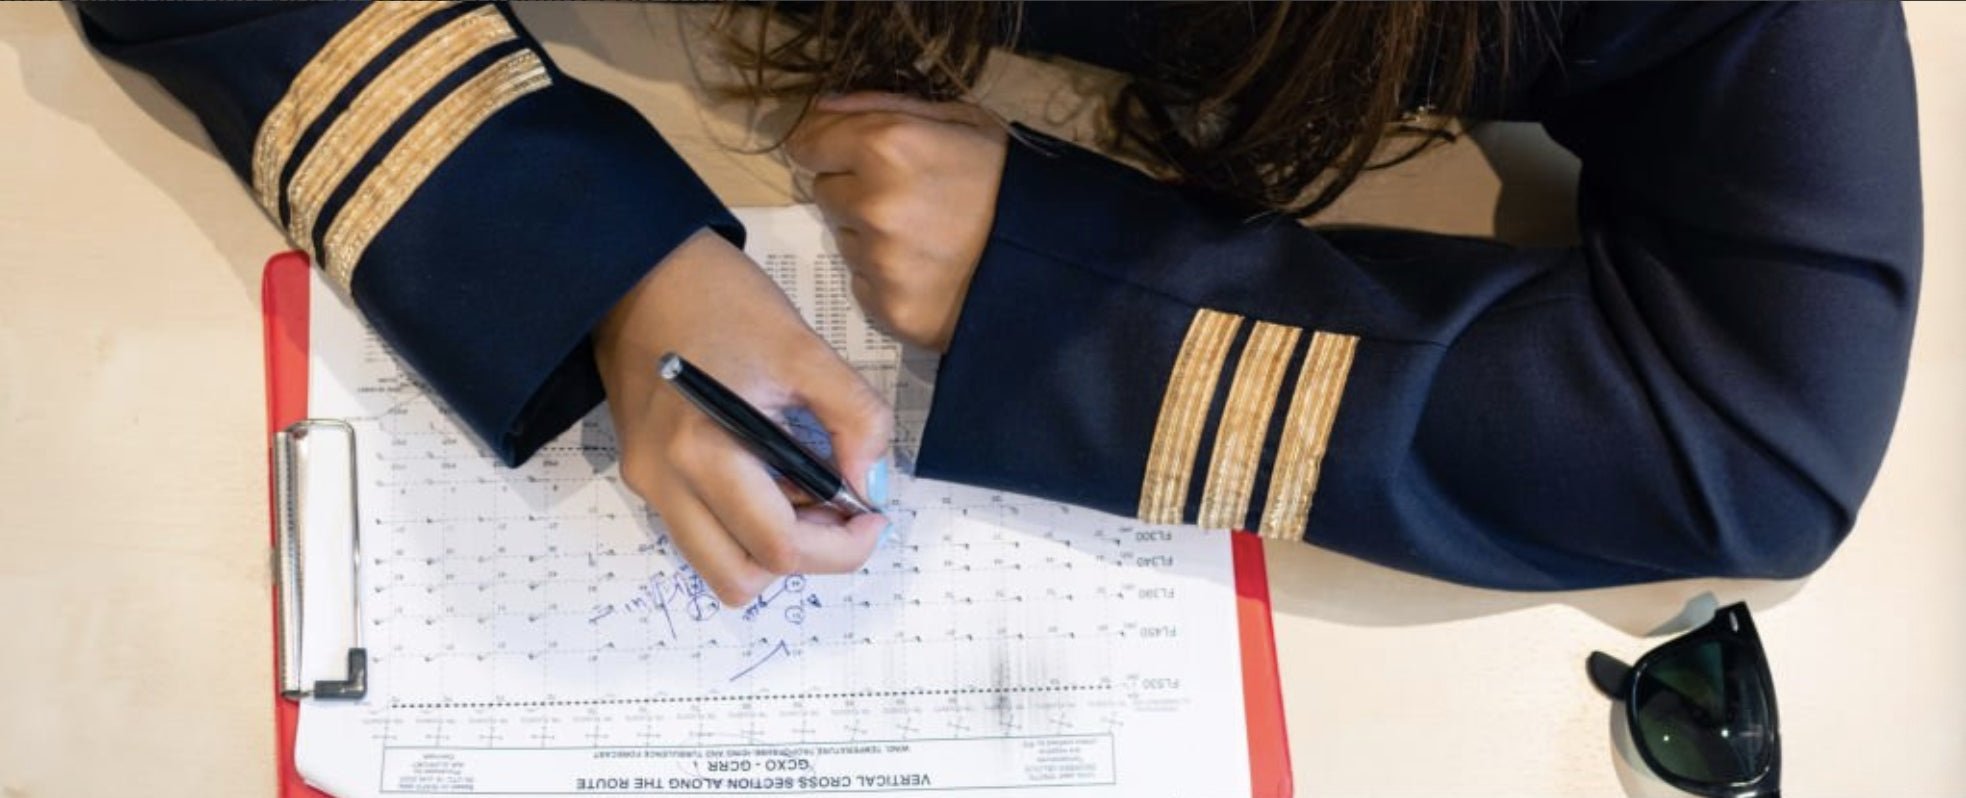
What is a Pre-Flight Checklist and Why is it Important?
A pre-flight checklist is a checklist done before the flight includes all actions that a pilot or crew members of an aircraft conduct before it takes off. These actions involve, but are not limited to, the checking and verification of the plane’s exterior and interior, the confirmation of mechanical systems, and checks on instruments and controls. Also, required documentation is checked.
Why is it important?
In aviation, even the tiniest mistakes can be terribly dangerous. Problems such as a loose bolt, a block in the controls or dirty fuel can lead to accidents. A checklist allows the pilot to mitigate a great deal of human error, increase awareness of their surroundings, and confirm all systems are active, responsive and working well.
Think of it like a ritual, not unlike a doctor scrubbing in before surgery. It’s about discipline, safety, and attention to detail.
Discover More: How to Become a Pilot: Costs, TSA, and Hours of Flight Training
Main Elements of a Pre-Flight Checklist
A well organized pre-flight checklist is an all encompassing document that comprehensively covers the external walk around, cockpit checks, instruments tested, and emergency preparedness for the flight. Here is the summary with all the pieces explained in detail.
1. External Aircraft Inspection
A visual examination includes a walk around the aircraft inspecting for any physical defects that may be present. Obvious damage includes but is not restricted to dents, corrosion, or cracks on the fuselage. The rest of the aircraft which are checked includes the wings, flaps, landing gear, and the engine inlets.
Special attention is required due to their importance like the static ports and pitot tubes for airspeed and altitude measurements. These components sometimes get disabled mid flight due to blockages from bugs and other debris, making pre-cleaning checks necessary.
This is an exacting yet delicate job. Some say the safety protocols begin even before you sit in from the cockpit - some pilots consider this step part of their pre-flight checklist and believe that their procedure starts here.
2. Fuel and Oil Levels
Fuel is more than just a number. Its quality, distribution, and kind all matter. The operations for a tank must ensure it is filled with the suitable type of oil and that there is no contamination from water or sediment. Also, the distribution must maintain the balance of the plane.
Pilots check the oil level gauges for both the amount and look of the oil. If the oil is too low or contaminated, it may lead to critical issues like overheating and damage to the engine. Pilots ensure all tubes and wires are within parameters using either dipsticks or electronic indicators.
Not completing this step can lead to unanticipated scenarios such as the oil can suddenly cause the engine to turn off mid-flight.
3. Flight Instruments and Indicators
Nowadays, the airplane itself comes with all the necessary components to keep track of altitude, direction, speed, and even presents certain information in a digital format. Everything must be calibrated and ready to function before the plane takes off.
The attitude indicators and altimeters must be verified, and the movement of compass dials checked. All of these are extremely important for navigation, especially when visibility is low. It’s also critical to check backup systems, like old-fashioned dials, because relying on modern devices necessitates assurance that they’re functioning as intended.
4. Flight Controls
The pilots push and pull on the yoke, stick, rudder pedals, and throttle to check if they move easily and as intended. The ailerons, elevators, and rudder on the aircraft also need to move as the aircraft’s controls are operated from the cockpit.
They also verify that trim tabs are functioning and gust locks are freed. Any stuck control or left over gust lock could be disastrous. In this stage everything is about how responsive the aircraft is, testing how close they can get to the limits of what the aircraft can do as they prepare for the next step.
5. Avionics and Communication Equipment
Transparent and dependable communication is essential. Clarity of the radios is tested, followed by checking the correct setting of the frequencies, and verifying the functioning of the microphones. Transmission and reception are both confirmed by the pilots during the preflight checks.
Navigation systems such as GPS and transponders also undergo pre-flight checks. The transponder guarantees tracking capability of the aircraft, whereas the ELT’s (Emergency Locator Transmitter) functionality is assessed for contingencies.
When maneuvering through high traffic sectors, radios are not considered optional equipment, but rather indispensable.
6. Emergency Equipment and Documentation
Pilots ensure that the following emergency items are onboard: fire extinguishers, oxygen equipment, life vests, and first aid kits. Although these tools are rarely used hopefully; still, they are critical during emergencies.
Additional documentation is examined, these include aircraft registration, certification of airworthiness, logbooks, and operations manuals. All must be present and current. Missing any of these can result in flight delays or legal consequences.
This procedure guarantees that every aircraft's safety feature and legal requirement is fulfilled prior to lift off.
Supporting Pre-Flight Safety with Crystal-Clear Communication
As part of the communication equipment check, a reliable aviation headset is not just helpful, it’s essential. During both pre-flight checks and in-flight operations, pilots need clear, uninterrupted audio to communicate effectively with crew members and air traffic control.
This is where KORE Aviation headsets shine. Designed with noise-canceling microphones, these headsets reduce ambient cockpit noise and deliver crisp. Clear audio ensures your voice is heard without interference. This clarity is especially valuable for student pilots, who are learning to manage multiple tasks while maintaining communication in often noisy training aircraft.
Built for long lasting use, KORE headsets combine comfort, durability, and professional grade performance at a price point that’s accessible for learners and seasoned pilots alike. Whether you're logging hours for your first license or flying cross-country, they help reduce distractions and keep you focused on the flight.
Trusted by instructors, loved by learners #PilotApproved.


