
Kore Aviation - If you’re ready to discover how to start flying planes for beginners, you’re about to embark on an exciting adventure. Whether your goal is simply to fly for fun or pursue a pilot career, following a structured path makes the journey smoother.
This article lays out 7 essential steps from choosing a school to preparing for your license check ride. It also includes practical tables and gear tips.
Let’s launch into step 1.
1. Step 1: Choose a Flight School & Instructor
Before training begins in the air, selecting the right flight school is crucial.
Key Factors to Consider
- School certification under your country (in the U.S. look for FAA‑approved school).
- Instructor reputation and availability
- Fleet condition and aircraft availability
- Curriculum structure: Part 61 vs Part 141 in the U.S.
- Cost estimates and payment flexibility
School Comparison Table
| School Type | Structure | Best For |
|---|---|---|
| Part 61 (U.S.) | Flexible schedule, more hours typically | Students with work or schedules outside full‑time |
| Part 141 (U.S.) | Structured syllabus approved by FAA, fewer minimum hours | Full‑time career‑bound students |
Read More: Part 61 vs 141: What Is the Difference in Pilot Training?
2. Step 2: Begin Ground School & Learn Theory
Ground school is where your cockpit time will be built on solid knowledge.
What You Learn
Ground school teaches the theory behind flying: aerodynamics, navigation, aircraft systems, and regulations.
Why Ground School First Matters
Understanding these topics early helps you how to start flying planes for beginners with confidence. You’ll ask smarter questions and absorb in‑cockpit training faster.
Table: Core Ground School Topics
| Topic | Focus | Typical Time |
|---|---|---|
| Aerodynamics & flight controls | Lift, thrust, drag, weight | 5‑10 hours |
| Navigation & airspace | Charts, radio, GPS, airspace classes | 4‑8 hours |
| Meteorology & weather | Winds, clouds, safe flying | 3‑5 hours |
| Regulations & procedures | FAA rules, checklist usage | 2‑4 hours |
Read More: Is Ground School Difficult? What Every Student Pilot Should Know
3. Step 3: Get Your Medical Certificate & Student Ticket
Before solo flights or even significant lessons you’ll need the proper certifications.
- Visit an Aviation Medical Examiner (AME) for a Student Pilot Certificate and medical class (in U.S., typically 3rd class).
- Ensure you meet age, English language ability, vision and health requirements.
- The paperwork helps you qualify legally for training and later the license.
Discover More: Which Aviation Headset Is Right for Beginner Student Pilots?
4. Step 4: First Flight Lessons & In‑Air Training
Now you move into action. After initial ground school you’ll start instructing flights.
What to Expect Early On
- Preflight briefing and inspection of aircraft
- Dual instruction with a Certified Flight Instructor (CFI)
- Basic maneuvers: taxi, takeoff, straight‑level, turns, climbs, descents
- Debrief after each flight to reinforce learning
Read More: What Are the Student Pilot Solo Flight Requirements?
Sample Lesson Timeline
| Phase | Activity | Duration |
|---|---|---|
| Pre‑flight briefing | Controls & safety | ~15 min |
| Aircraft walk‑around & cockpit setup | Inspection and familiarization | ~10 min |
| Flight segment | Takeoff, maneuvers, landing | ~20‑30 min |
| Debrief | Review performance, questions | ~10 min |
Also read: How to Prepare for the First Solo Flight? Student Pilot Guide
5. Step 5: Log Flight Hours & Build Skills
As a beginner you’ll accumulate hours and develop competence, not just time.
Typical Skill Development
- Control feel and aircraft response
- Instrument scanning (basic) and use of flight instruments
- Radio calls, traffic pattern work, and situational awareness
- Cross‑country and solo flights later on
Minimum Hour Requirements (U.S. Example)
| License | Minimum Hours (Part 61) | Notes |
|---|---|---|
| Private Pilot (PPL) | 40 hours | Most students log 55‑70 hours |
| Instrument Rating | Varies | Adds flying by instruments |
| Commercial Pilot License | 250 hours | Professional path |
Discover More: Getting Your PPL - Full Guide to Private Pilot License
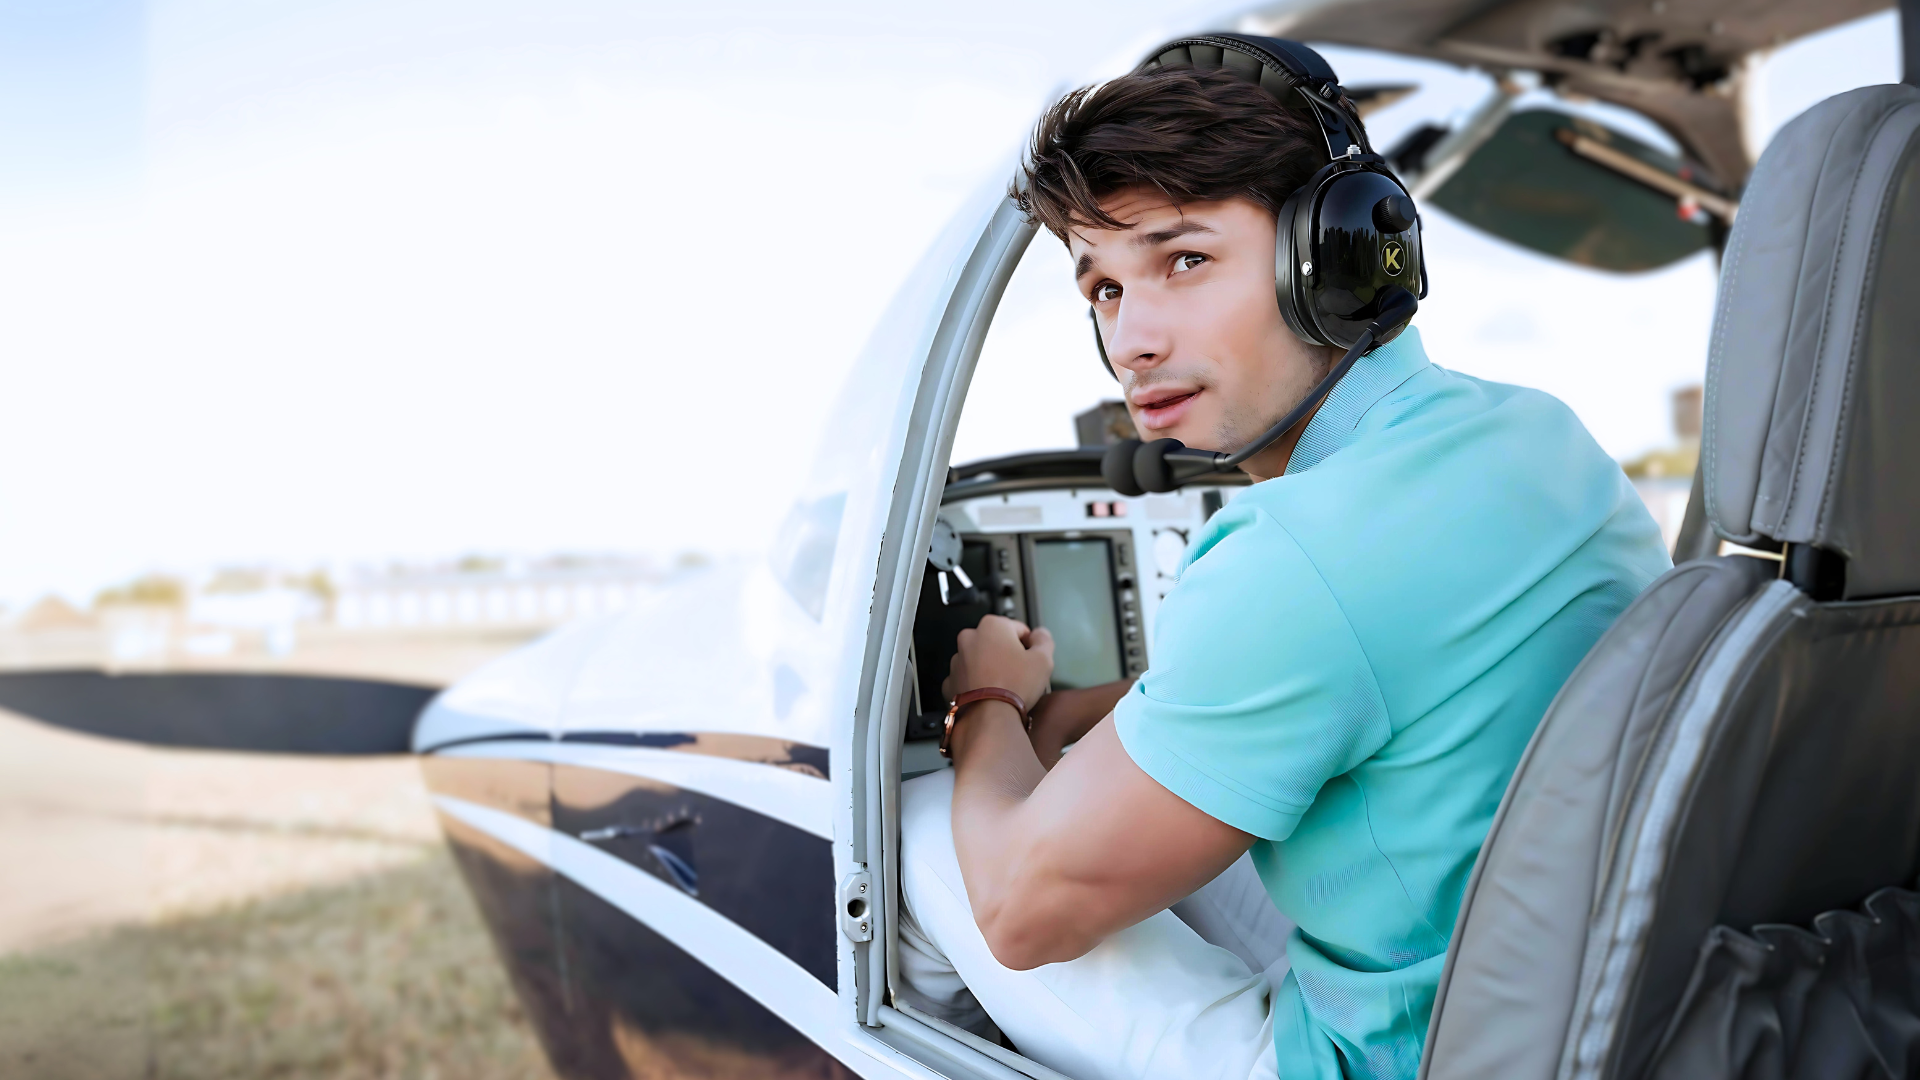
6. Step 6: Build the Right Gear & Habits
Choosing the right equipment and habits helps you train smarter and more comfortably.
Gear Considerations for Beginners
- Flight bag, logbook, kneeboard, chart subscription
- Regular review of lessons and self‑study
- A comfortable aviation headset improves communication and reduces fatigue.
Check out Kore Aviation premium and affordable headsets. Designed for durability and clarity for flights.

Good Habits to Adopt
- Fly consistently (regular sessions reduce retraining)
- Review your lessons and log progress
- Maintain health and fitness
- Prepare for each flight with checklists and weather briefing
7. Step 7: Prepare for Your License & Check ride
You’re nearing a major milestone: your pilot certificate.
Key Components
- Complete your minimum required hours and maneuvers
- Pass the written knowledge exam
- Practice with your instructor for the oral and flight test (check ride) with a Designated Pilot Examiner (DPE)
- Ensure you meet aircraft performance, cross‑country, emergency procedures and night flying requirements if applicable
Pre‑Checkride Checklist
- All endorsements from your instructor
- Logbook signatures and required flight hours
- Good knowledge of regulations, airspace, and aircraft systems
- Confidence in takeoffs, landings, navigation and decision‑making
7 Steps to Beginning to Fly Recap
- Step 1: Choose a flight school and instructor
- Step 2: Begin ground school and learn theory
- Step 3: Secure medical certificate and student pilot ticket
- Step 4: Start flight lessons in the air
- Step 5: Log hours and skill‑build
- Step 6: Use the right gear and habits
- Step 7: Prepare for your license check ride
FAQ – How to Start Flying Planes for Beginners?
-
Do I need prior flight experience?
No. Beginners may start with zero hours, ground school and training take you from zero to certified. -
Which aircraft do beginners train in?
Common trainers include the Cessna 172 and Piper Archer, stable single‑engine aircraft suited for learning. -
How long does it take to get a Private Pilot License?
It varies. Full‑time students may finish in 3‑6 months; part‑time may take a year or more, depending on consistency. -
What does ground school vs flight school mean?
Ground school covers theory in classroom or online; flight school refers to actual flying lessons, ground knowledge must come first. -
Can I train part‑time while working?
Yes. Many students train evenings or weekends. It may take longer but works. -
What headset should I get as a beginner?
Invest in a comfortable, reliable aviation headset early. Consider student‑friendly models from Kore Aviation for noise reduction and comfort. - How much does it cost to learn how to start flying planes for beginners?
Costs vary widely: $8,000‑$15,000+ for PPL in the US is common depending on aircraft, school, geographic region. - How many hours until I fly solo?
It varies. Some students solo after 10‑20 hours; many take more. It depends on ability, weather, and scheduling. -
Can I fly immediately after first lesson?
Yes you’ll fly with an instructor. Solo comes when your instructor and you feel ready.
Conclusion
If you’ve been asking how to start flying planes for beginners, now you have a clear roadmap. From selecting your flight school to logging hours, gearing up and preparing for your check ride, you’re on a path. Stay consistent, stay curious, and equip yourself wisely.
Ready to take off? Visit Kore Aviation to explore aviation headsets designed for student pilots. Your gear matters as you climb into the skies and build your pilot journey.
Fly safe, keep learning, and enjoy every minute aloft.


